

In preparation for the Two Ways to Build a Log Cabin workshop I thought I’d have a go at a third Log Cabin technique: Wonky Log Cabin blocks.
Guided by Jackie White’s instructions in her chapter of the book ‘I love Log Cabins‘ I set to; diving into my boxes of fabric strips (I know! More scrap fabrics!). The boxes were stuffed so full that taking the lids off was like activating a Jack-In-The-Box 😀
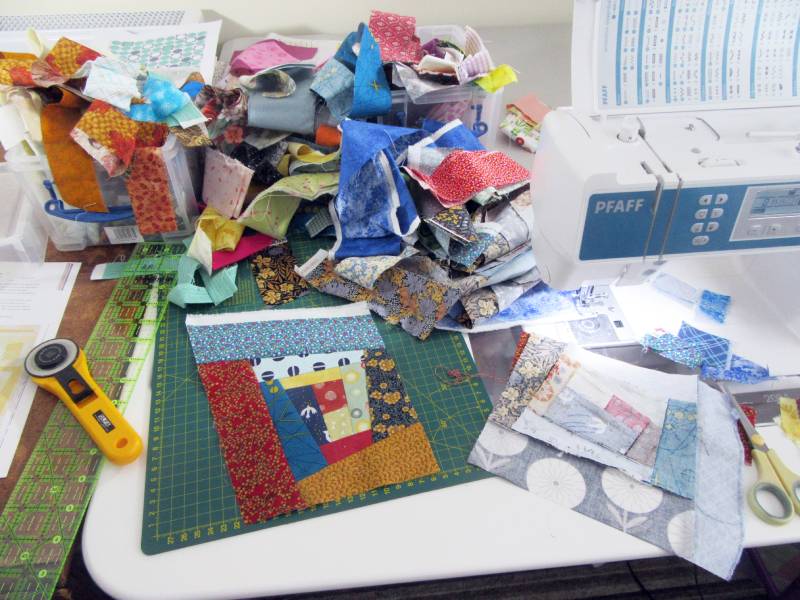
It took about twelve strips of fabrics ranging from 1″ to 3″ wide to make each of the blocks. Here they are before I trimmed them……
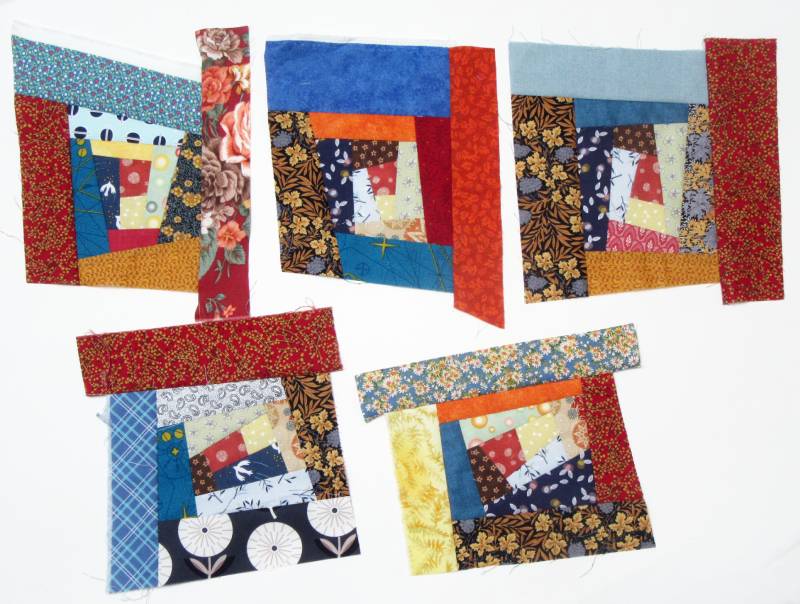
….. and after I trimmed them to 6¼” square…
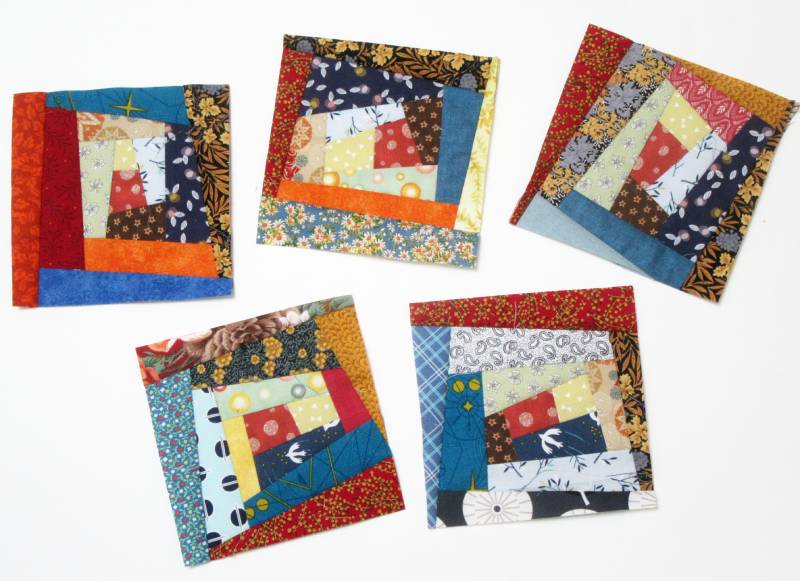
I used the no-binding method to make the blocks into mug rugs:
First layer a quilt sandwich:
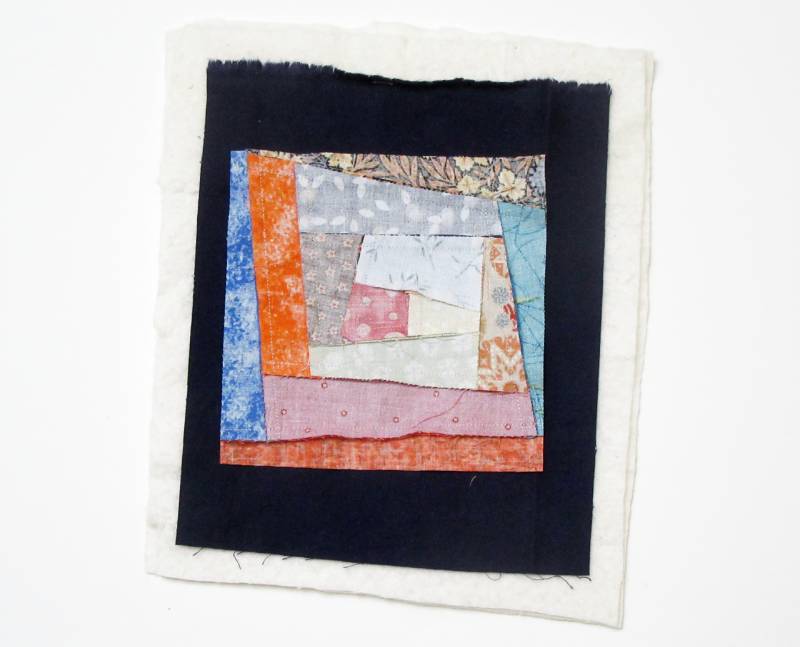
- Place the batting on a flat surface. (I used two pieces of cotton batting so the mug rugs would give a bit of protection to table tops, you could of course use an insulating batting).
- Onto the batting lay the backing fabric, right side facing up (I found some cotton flannel to use as backing).
- Then lay the patchwork block on top of the backing, right side facing down.
- Smooth the fabrics flat and use a few basting pins to stop the layers shifting as you sew.
Next stitch the layers together:
- Using good quality thread stitch a seam ¼” inside the edge of the patchwork block.
- Leave a gap in the seam about 2½” wide. Strengthen the seam either side of the gap with backing stitches.
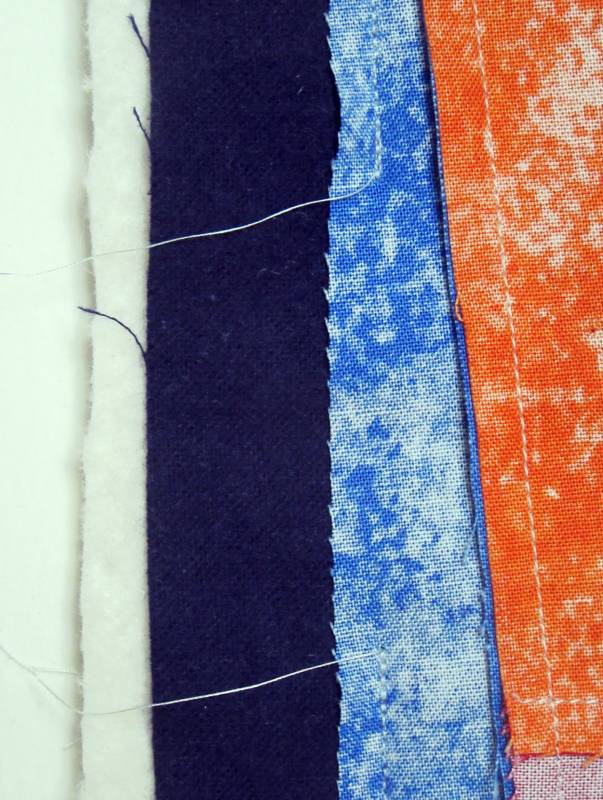
Sorry it’s a bit hard to see.. The seam is stitched on the light blue fabric and the threads show the gap in the seam.
- Cut away the excess backing and wadding fabrics up to the edge of the patchwork block. Tip: I leave about ¼” of excess fabric alongside the gap in the seam – this makes it easier to tuck the fabrics in when it comes to stitching the gap closed. Cut across the corners being careful not to snip the stitching.
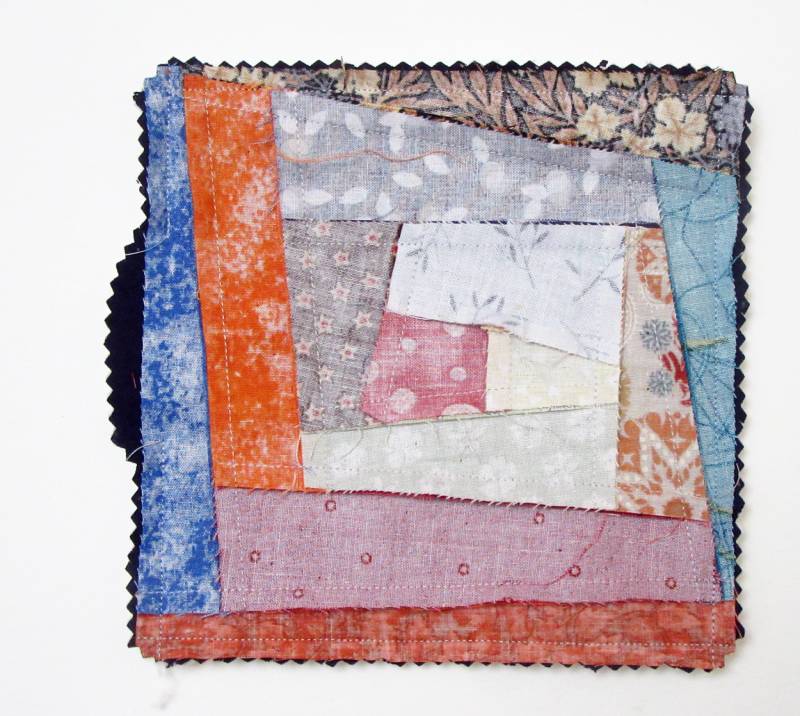
- Use the gap in the seam to turn the Mug Rug layers inside out. Push out the corners with a blunt tool.
Finishing the Mug Rug:

- Close the gap in the seam by hand stitching or by machine.
- Roll the edges of the Mug Rug with your fingers to flatten them and then pin.
- Stitch a line of quilting stitches about ¼” – ½” from the edge of the Mug Rug to keep the layers in place.
- Add further quilting as desired.
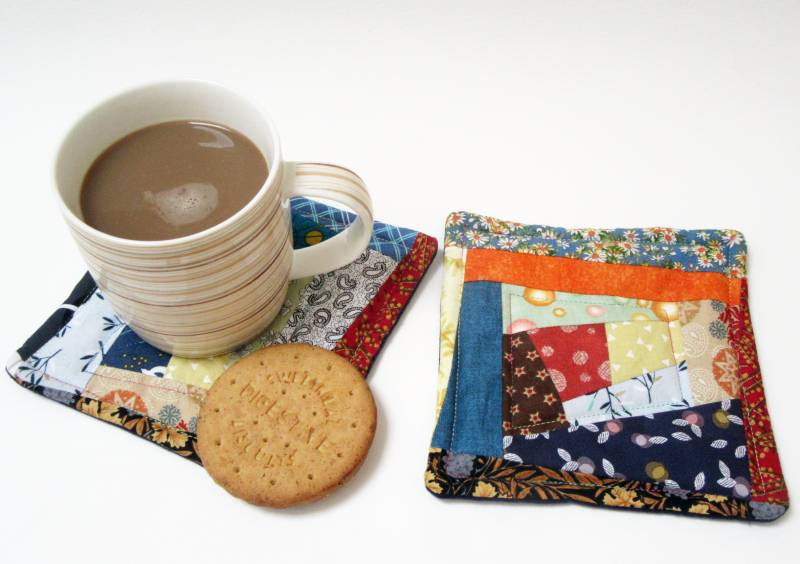
I had time to test out a Mug Rug before packing it and the other four along with my class notes and demonstration materials ready for the workshop tomorrow. 🙂
Linking with Susan for Midweek Makers and Kelly for Needle and Thread Thursday.
Allison

I really need to make some mug rugs! 🙂
These were very satisfying to make – just two days start to finish! (Obviously I wasn’t sewing all that time ;-)). And a quick way to try out a new piecing technique too.
Nice! Thanks for tut!
You are welcome!