
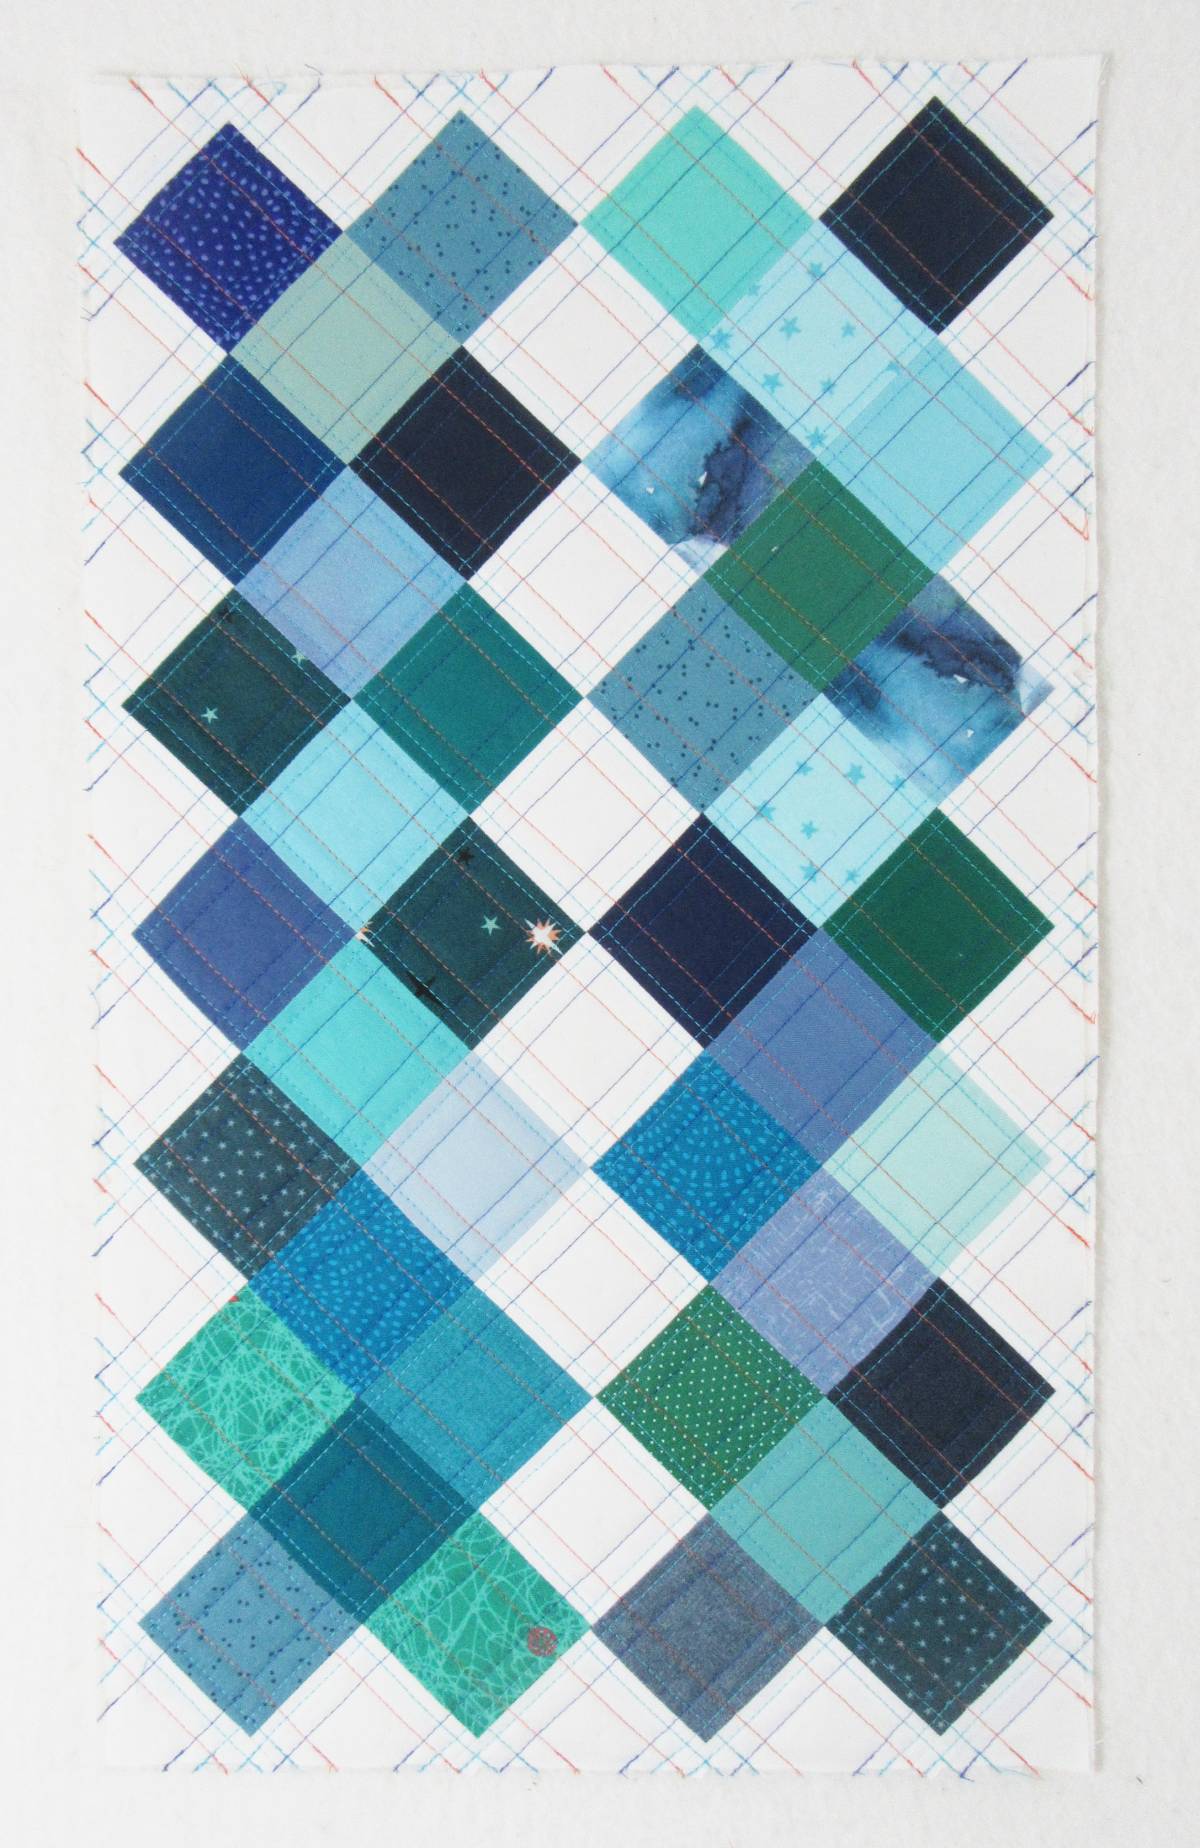
I’m distracting myself from a big project that’s got a bit too challenging, by making a little wall hanging. I selected some 2½” squares from my stash of blue and blue/green fabrics and teamed them up with Kona Snow offcuts to set them all on point. I decided to use turquoise and blue threads to quilt a simple echo pattern across the quilt. As I was stitching I thought maybe it was just a bit too cool blue for this wintry grey time of year. I added some orange thread to the quilting – hmm, nice!
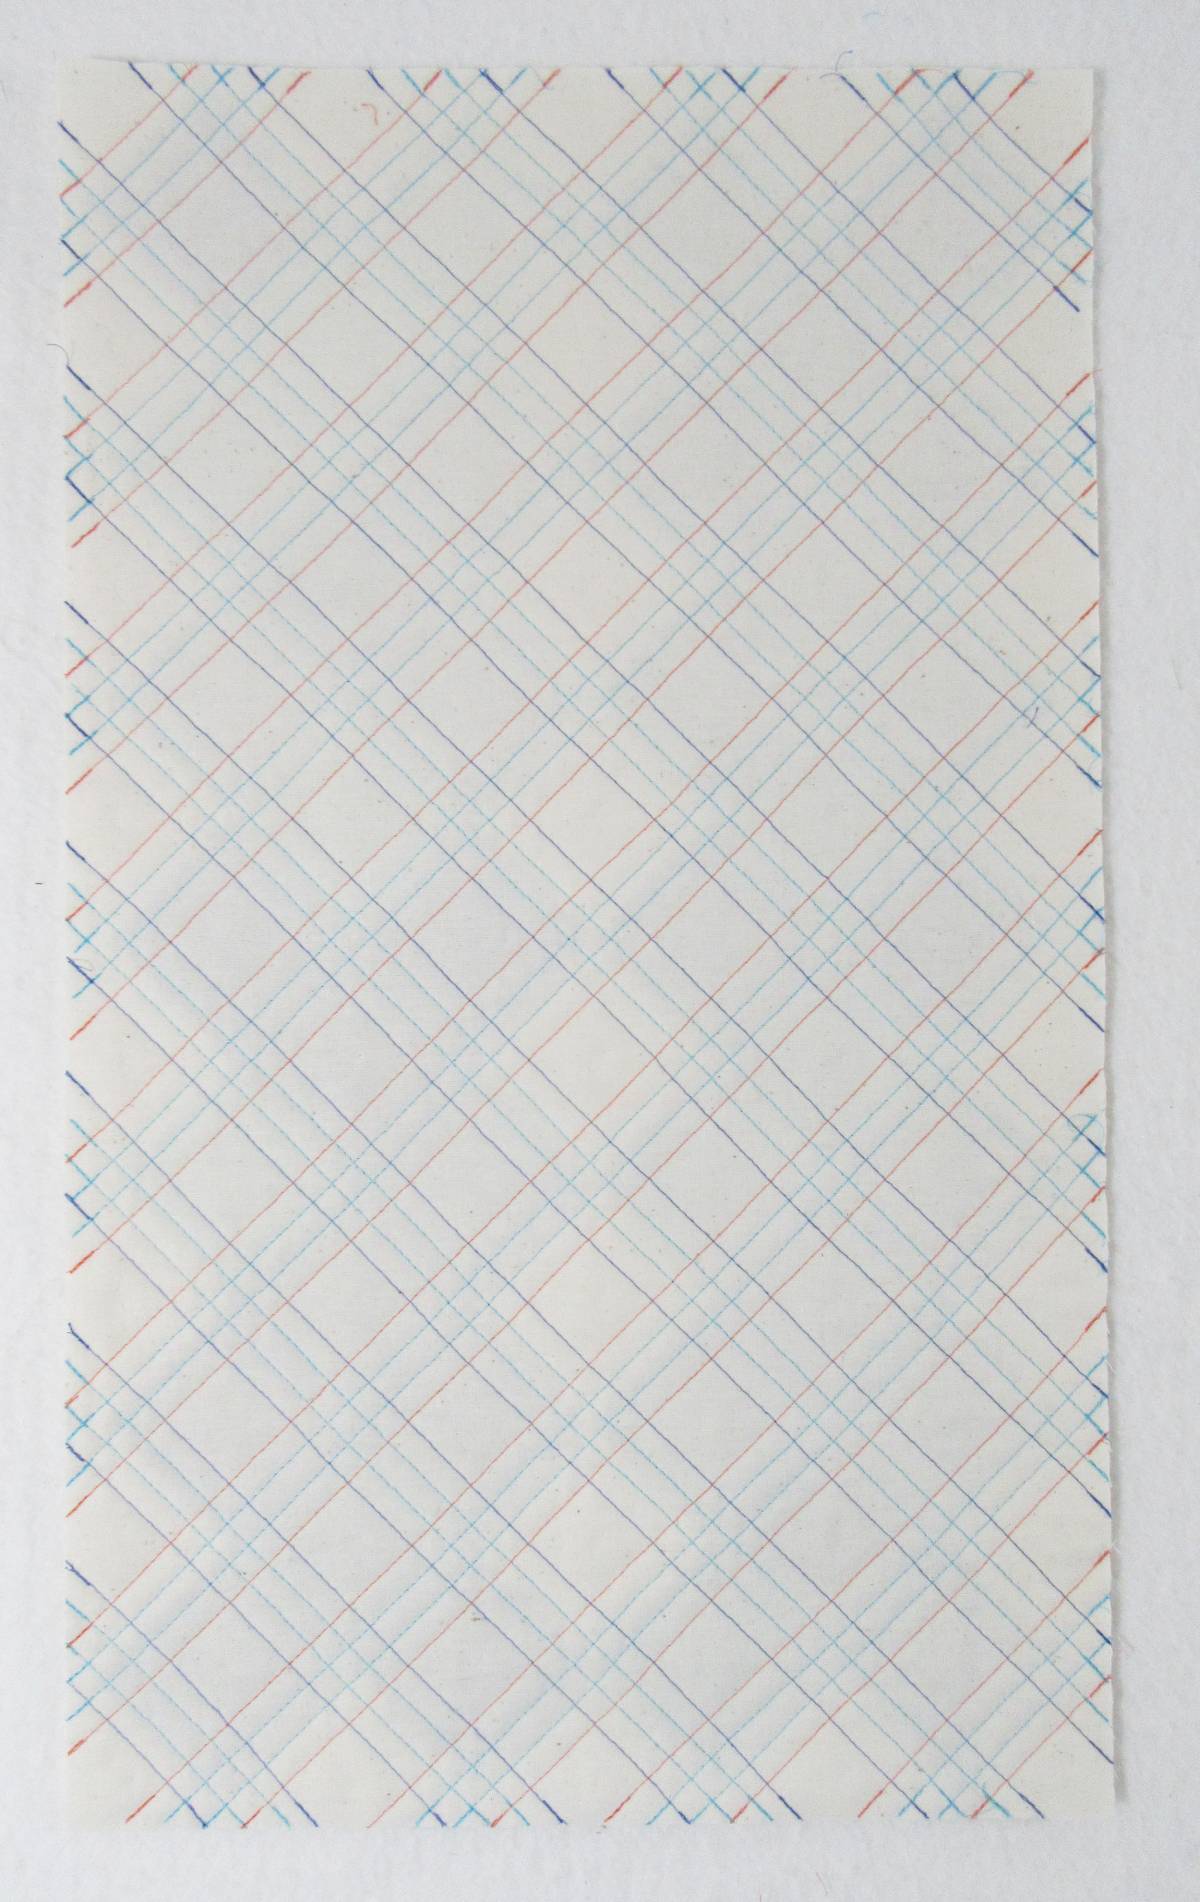
The different colour quilting threads show up nicely on the calico backing.
Then I decided just a touch of orange in the borders would help draw attention to the orange thread and lift the overall colour scheme…
Enter the FLANGE! I’ve added a narrow flange between borders on a couple of projects but never attached a flange to a binding. First time for everything of course, and definitely an advantage to be be trying something new on a small project 😉
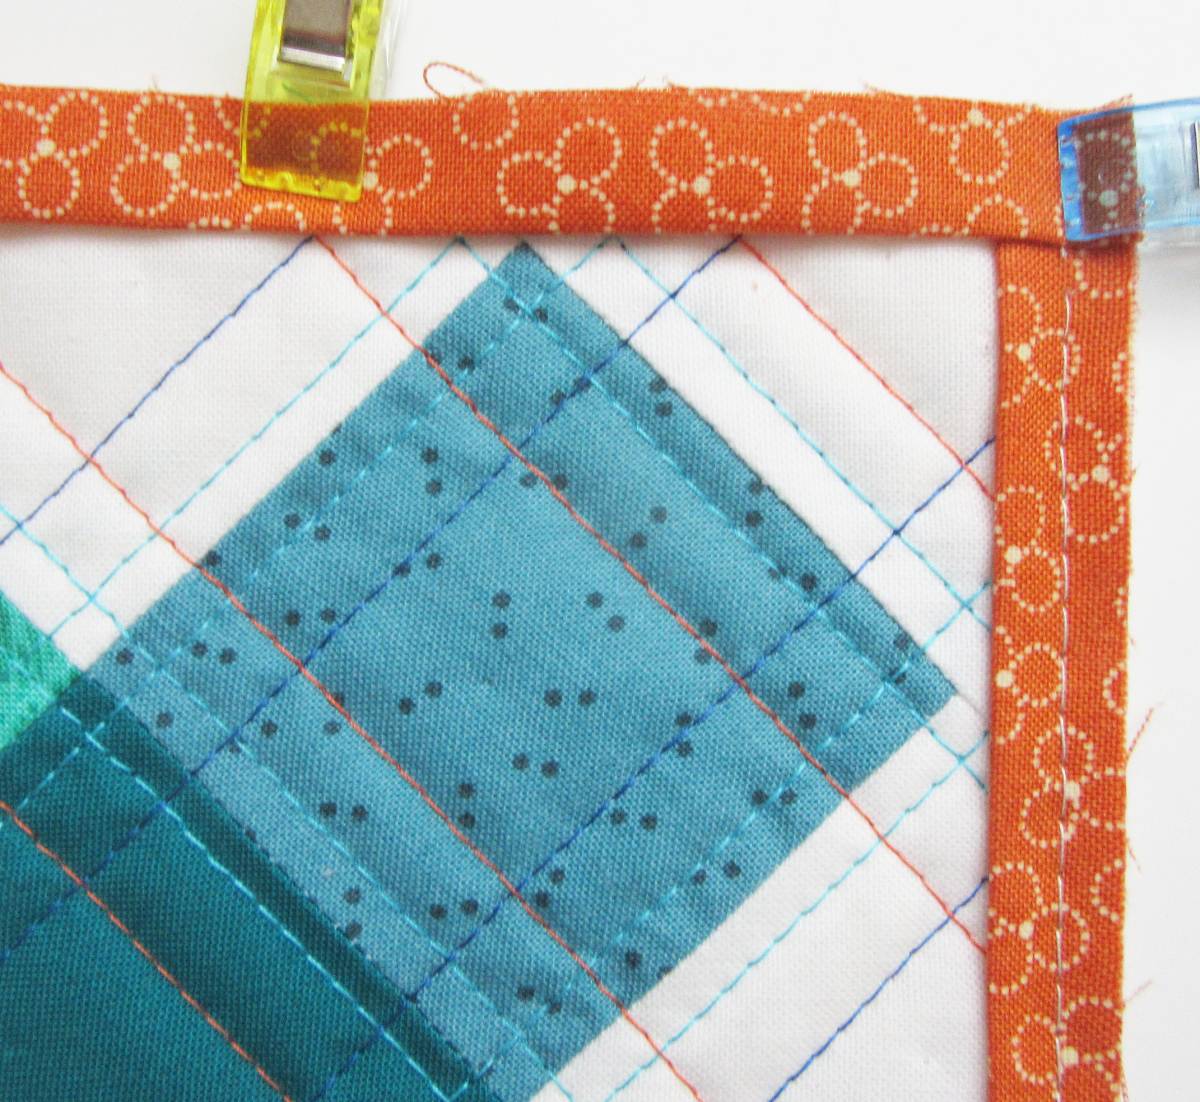
This needed to be a narrow strip of colour so as not to take away from the blue-ness of the quilt. So, after a bit of experimenting, I cut ⅞” strips of orange fabric for the flange. I carefully pressed them in half lengthwise before attaching them, raw edge to raw edge around the quilt. I used a machine stitch about ⅛” from the edge to baste the strips in place. Then I stitched the double fold binding around the edge with the usual ¼” seam.
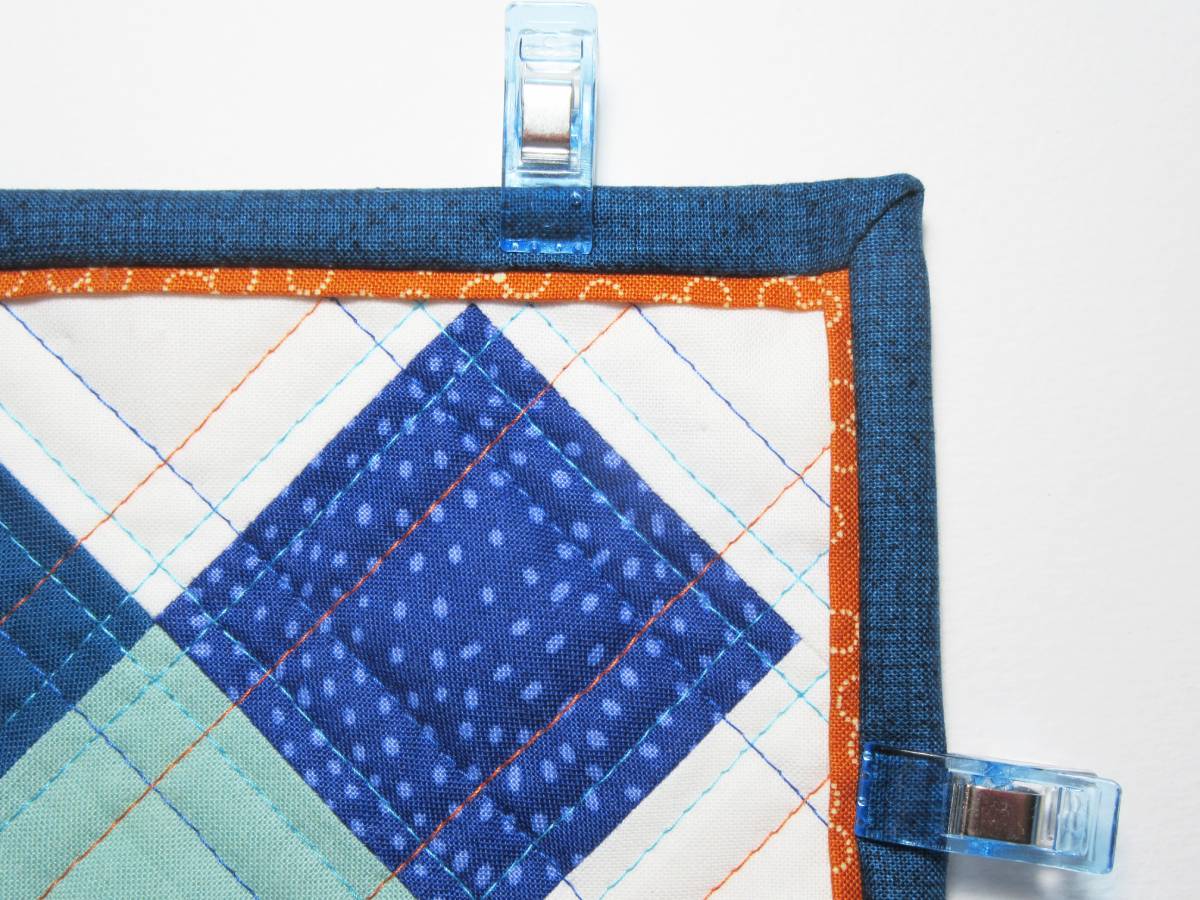
These measurements worked well for this small wall hanging (approx. 12″ x 21″). If I were adding a flange to the binding of a full size quilt I’d cut the strips a little wider so more of the fabric would be seen (maybe 1¼” strips?). I think I’d also cut my binding strips 2½” wide just to be able to fold them around to the back of the quilt more easily. I usually cut binding strips 2¼” wide to avoid any bagginess but the two layers of the folded flange fabric do add a bit more depth to the quilt edge thus making the narrower binding a bit tight to fold over the edge.
Now I just need to stitch the binding to the back and attach a little sleeve for the hanger ☺️
 Happy Stitching.
Allison
PS. If you found this little post useful then I invite you to subscribe to my email newsletter where I’ll be sharing more patchwork-quilting tips and, very soon, an invitation to join The Patchwork Hub at Home at the special Founding Member rate 🙂

0 Comments