
As I set up my machine for quilting I kept thinking of little pieces of information to share. I must still be in teaching mode! What follows isn’t a full tutorial by any means rather a series of tips in a ‘stream of consciousness’ format.
So, here we go….
First the context. I’m completing a UFO that’s been stuck in a box for six or seven years. Twenty 12″ blocks from the Modern HST QAL organised by Alyce of Blossom Heart Quilts. Recently I fished out the blocks and stitched them together in a 4 x 5 layout using a blue on white text print to create a ‘staggered sashing’.

The quilt now measures approximately 60″ x 70″. I pieced a bright backing and pin basted the sandwich with Quilters Dream Poly wadding. It feels surprisingly heavy and is definitely at the upper end of quilt size I feel happy managing even with my wide-throat Janome MC6700P machine.
I like to add diagonal quilted curves/waves to an angular patchwork pattern. The quilted texture adds movement to the design and, I think, encourages the eye to move around the quilt seeking secondary patterns rather than just taking in rows and columns of blocks. The first quilt I stitched a wavy grid over remains one of my favourites: the Bear Tracks quilt made to accompany Rachel Hauser’s Color Quest QAL.


Bear Tracks: quilting in progress.
Preparing to quilt.
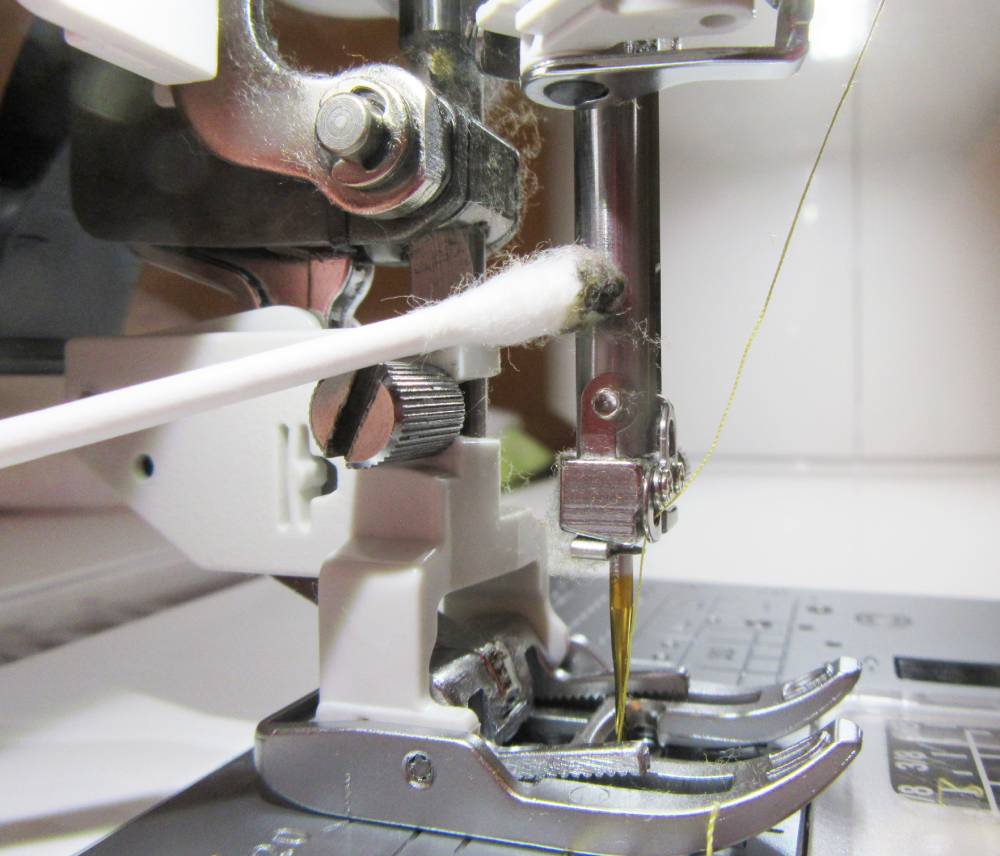
- Clean the needle shaft of the machine! As a quilt is ‘smooshed’, rolled and shifted around the throat space it may brush up against the needle shaft. This is the vital moving part of any machine and obviously has to move smoothly and freely so needs to be lubricated. The oil can become grimy, attracting lint from thread and fabric. To clean away the excess, lower the needle into the bobbin race and use a cotton bud to gently wipe around the shaft, picking up the excess oil and any lint.
- A walking foot with an open toe is great for giving a really clear view of the needle and any lines or markings being followed. I’ve just treated myself to the open-toe plate for the Accufeed foot for my Janome and I’m loving it!

Open toe plate fitted giving much clearer view of the needle than the standard plate (left).
- Mark a gentle, flattened curve diagonally across the quilt top. I use a Hera marker, laying a quilting ruler nearby on the quilt at an angle of 45° to the vertical. This is my visual aid for keeping the line I’m marking more-or-less at the desired diagonal across the quilt.
- Flattened, open wavy lines are easiest to echo quilt. If a curve is too acute the echoes will become more and more difficult to quilt as the curve becomes tighter and tighter.

Quilting.
- If I’m quilting an edge to edge design I’ve recently taken to making a couple of back stitches across the outside edges of the quilt top as I begin and end each stitching line. I find this keeps the stitching secure when the quilt is trimmed prior to attaching the binding. This is made super easy on my machine as I can select a stitch which automatically back stitches at the beginning and end of the stitching line – how cool is that? Definitely have a look through your machine manual to see if there’s a built-in back stitch!
- Walking foot = walking pace! Stitch at a steady pace, being prepared to stop frequently to move the quilt, flattening the fabric around the needle and keeping your hands on the bed of the machine.
- Check the back of your quilt to be sure the bobbin tension is correct and there’s no issues like stitching a stray piece of fabric (or a quilt glove!) or a corner of the quilt sandwich to the backing. These things do happen!
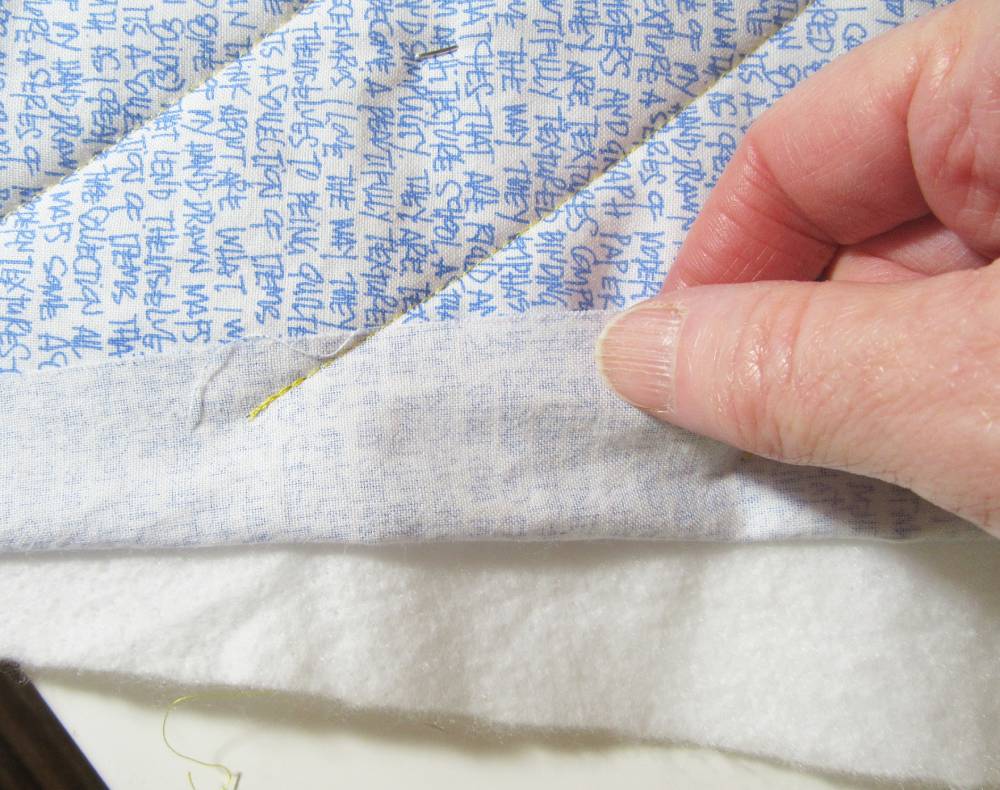
Doh! Backing flipped back on itself and caught in the quilting! Time for some unpicking!
- To reduce the risk of puckers or pleats in the fabric as quilting progresses I find it’s helpful to echo stitch a few lines from my original curve and then stop to mark the line for the opposite diagonal. I stitch a few lines in this direction to hold the quilt sandwich layers in place.

- I’m quilting my echoes 2″ apart and it’s taking some time! I’ve listened to music at the right pace for stitching (Bob Marley and Everything But The Girl rather than ELO or Blondie!) and started listening to an audio book.
- Taking breaks is important for relaxing out arms and shoulders. My machine is in a drop bed table and that definitely helps with maintaining good posture and eases shifting the weight of the quilt around the machine.
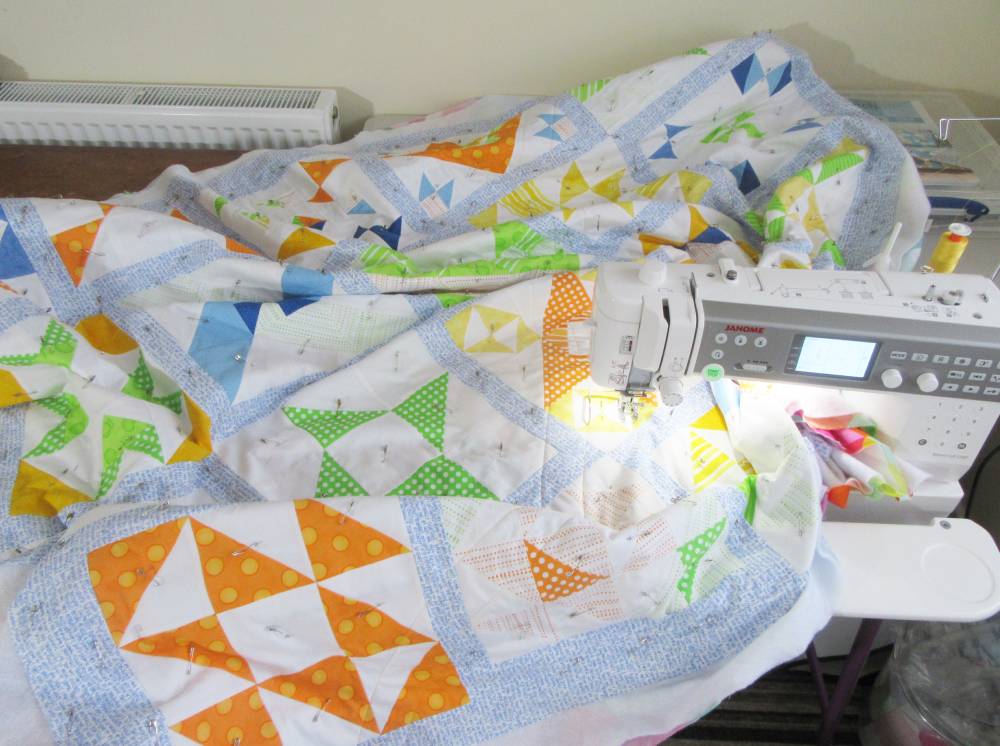
So, steady progress is being made. I hope you find one or two of these tips helpful, if you have any others to add do share them in the comments box, thank you!

Linking with Kathleen for Tips and Tutorials on the 22nd. Kathleen has been experimenting with the freezer paper technique for foundation paper piecing. And linking with Kelly for Needle and Thread Thursday – there’s already an interesting gallery of linked projects to go investigate.
Allison

Thank you so much for linking up this fine tutorial. I sent it to a friend the other day who was looking for a way to quilt her Stay At Home Round Robin (Wendy). I didn’t even get to comment on it just sent right to her. I love the way it looks and it is such an effective quilting pattern.
Thanks for sharing my post Kathleen. I hope the post helps Wendy decide on a quilting design for her project.
Good morning from sunny California. I am interested in your Staggered Sashing. I am working with a group that sews philanthropy quilts and we made a bunch of sampler blocks in colors, pink one month, blue the next. Anyway I wanted to try your staggered sashing but I can’t seem to find instructions. Thank you.
Hi! Karen. I’m glad the sashing design has inspired you! I made it up as I went along so I’m sorry I don’t have a pattern to share at the moment.
I will try and whip up a tutorial/pattern in the near future and either publish it on the blog or give a link to a download.