

In Part One of this Advent Calendar tutorial I took us step-by-step through making the quilted back panel complete with hanging tabs. In Part Two I’ll share my method for making and attaching the pocket fronts to complete the Advent Calendar.
I made my calendar using the Merry & Bright Advent Calendar panel designed by Jane Farnham for Dashwood Studio.

PART TWO – MAKING AND ATTACHING THE POCKET FRONTS
I will not lie, making and attaching the pockets is a bit fiddly and takes some time. Best to take a deep breath, keep calm and enjoy the process 🙂
Additional materials and equipment:
- Fusible lightweight woven interfacing – gives the pocket fabric some ‘body’ and prevents exposed seams fraying.
- Pinking shears, binding clips, zipper foot.
Step One – Prepare the Pocket Fronts
- Before cutting out the pocket strips, back the Pocket Panel with lightweight woven interfacing, making sure the interfacing covers the seam allowances.
- Use a rotary cutter or pinking shears to cut out the Pocket Strips including the printed seam allowance.
Step Two – Stitching and Folding the Pocket Fronts
- Press over the seam allowance on the top edge of the each Pocket Strip and top stitch in place. Stitch the seam from the front to create a neat top stitched finish. I chose to fold my seams so a slither of the seam allowance was visible as I didn’t want to top stitch through the numbers printed close to the edge of each pocket front.

- Make a box-pleat between each pocket by bringing the sides together to meet the dotted line. Use binding clips or pins to hold the pleats in place. The dotted fold lines between the pocket fronts on my panel were a little off centre so I used them as a guide to keeping the folds vertical and eye-balled the centre position.
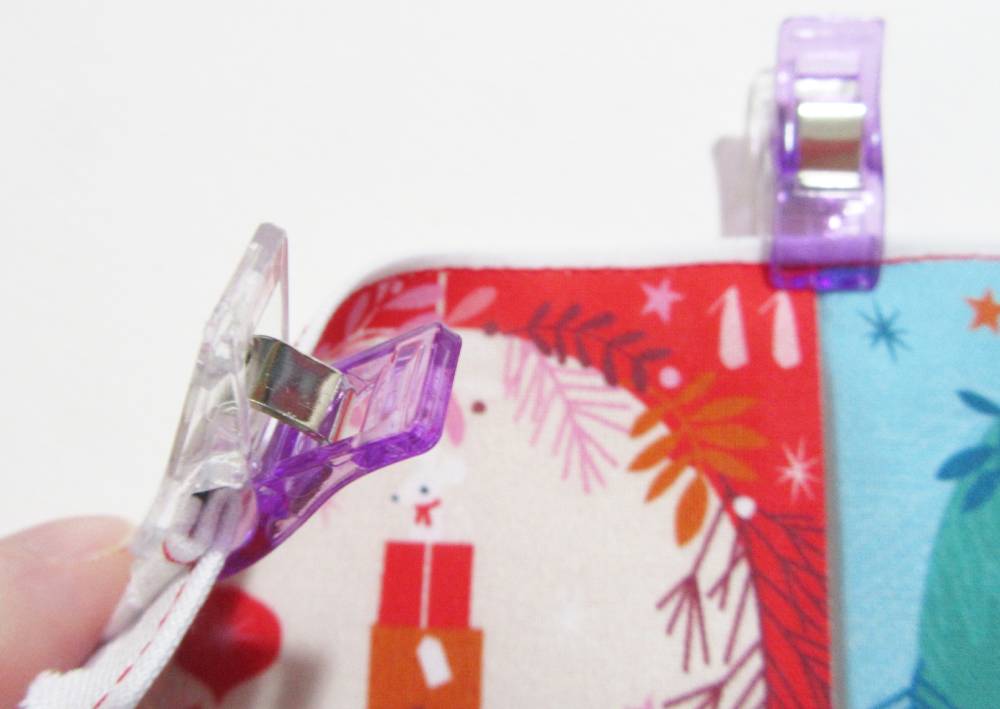
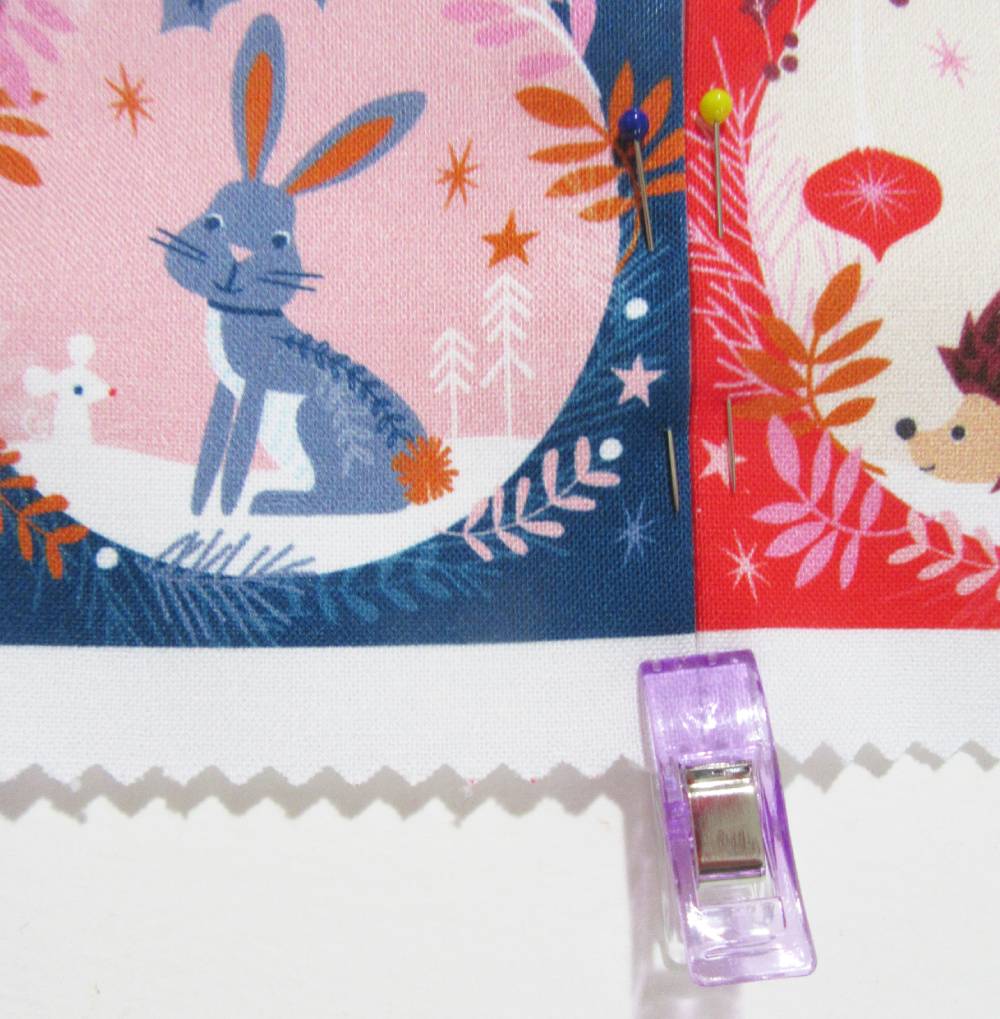
Carefully clip the pleats in place being sure to line up the edges of the printed pocket fronts.
- Press the pleats in place both from the back and front of the Pocket Strips.
- Press the bottom and side seam allowances to the back of each Pocket Strip.
Step 3 – Attaching the Pocket Strips to the Back Panel
- Carefully line up a Pocket Strip onto the Printed Back Panel. Pin in place.

- Stitch the Pocket Strip in place using a walking foot and top stitch thread.

I back stitched over the pleats along the bottom edge of the pocket strips to make sure they were firmly stitched in place.
- Using a zipper foot to get into the pleats, stitch between the printed Pocket Fronts. I found using a zipper foot the easiest way to get into the tight space of the pleats. I finished the seams within the pleat about ½” above the bottom seam.

- Repeat for all of the Pocket Strips.
Ta! Da! A completed Advent Panel ready to be gifted and enjoyed!

I think completing the quilted back panel before attaching the pocket fronts makes for a more robust finish with the pockets firmly attached through all of the layers. Here’s the link to Part One of Make an Advent Calendar from a fabric panel.
Allison

That makes so much sense – great tutorial.
Thank you for taking the time to look through the tutorial.
Thank you for sharing your process, Allison! 🙂
You are welcome. Writing it down helped me concentrate on the process. I think the ‘Sewing Instructions’ printed on panels are rather sparse!
Sorry I haven’t been replying to your comments. I do appreciate you visiting and reading my blog posts. I am now on (another) big drive to catch up with reading blog posts.