
First I must give a big ‘thank you’ to everyone who commented on my previous post, ‘Selling quilts: What I’ve discovered so far’. Reading and responding to those comments has been illuminating, encouraging and thought provoking. Thank you! 🙂 Since posting about the dilemmas of combining hobby and business I’ve read several blog posts hi-lighting ‘May is for Makers’ (apparently this is going viral among creatives on instagram). The idea is that of pattern designer Lindsey Rhodes of LRstitched. In her post (short, to the point, well worth a read) she’s pledged to buy a quilt pattern from a different designer each week in May as a way of trying to redress the balance between all the free tutorials we take advantage of with the many patterns for sale produced by independent designers trying to make a commercial go of their creativity. As Lindsey says:
the balance between what we expect for free and what we are willing to purchase is way out of whack.
Once I’ve completed this blog post I will make another pot of tea and enjoy a search through the on-line pattern shops of my favourite designers, determined to make a purchase and back Lindsey’s initiative 🙂
In my ‘selling quilts’ post I flashed up photos of several projects I’ve worked on recently, and I thought I’d back track and share some of the tips I’ve learned through their making.
First the New Every Morning banner.
For some time I’d mulled over having a banner to hang above or on my stall at craft fairs as a way of drawing attention and, I’ve since learned, ‘providing branding that is part of creating the trust between seller and buyer’ (get me with my marketing know-how!). Anyway, back to the sewing… The banner was printed by a local firm, Kites Up, onto 100% polyester. I was a bit dubious about that as I’m used to working with 100% cotton and shy away from man made fibres. The banner fabric is the weight more often used for printed table cloths, fairly
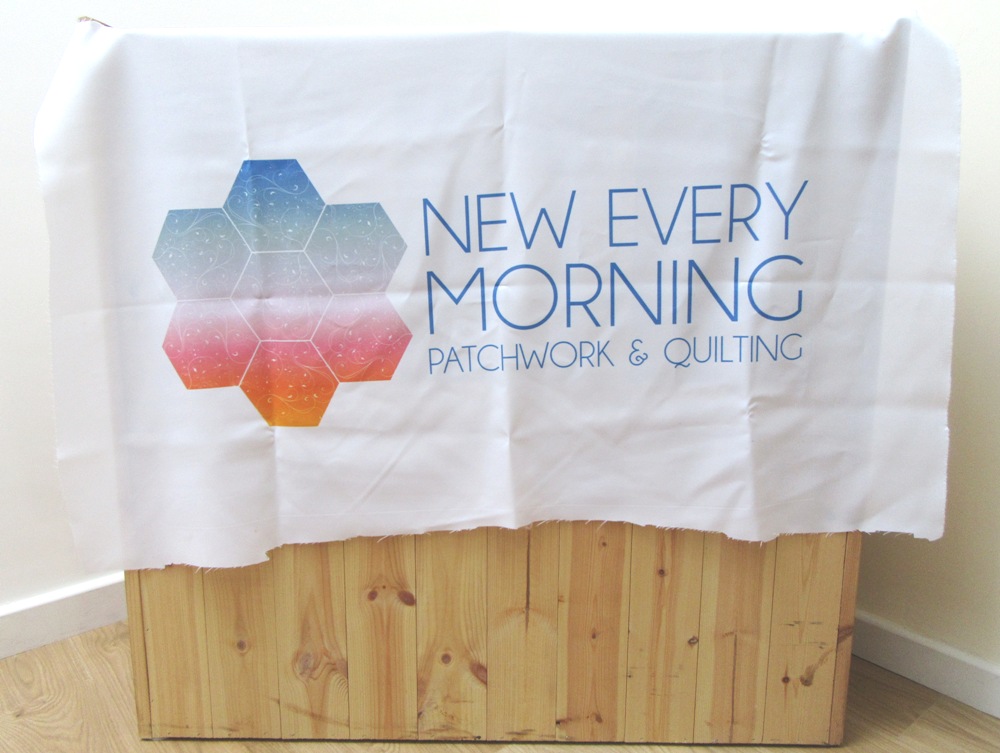
The ‘raw’ banner logo
slippery but nothing like dressmaking polyester, and thankfully it doesn’t fray much so it was considerably easier to handle than I’d anticipated. I searched through my colour-sorted scrap fabrics (I knew one day I’d discover the benefit of sorting fabrics into plastic wallets!) and found plenty that tied in with the logo colours 🙂 Having cut the polyester banner to size I added pieced border strips to give a stable, cotton edge for the blocks. Then I made the banner surround from thirty 4″ blocks. I really enjoyed mixing the colours and trying out different blocks from ‘501 Rotary-Cut Quilt Blocks’ by Judy Hopkins. I added another narrow, pieced border before finishing with blue binding and hanging tabs that tie-in with the blue lettering.

Next, the table runner.
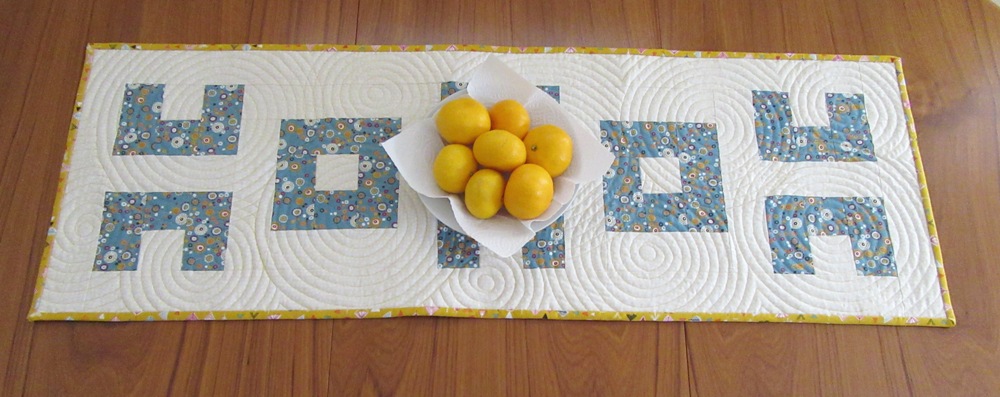
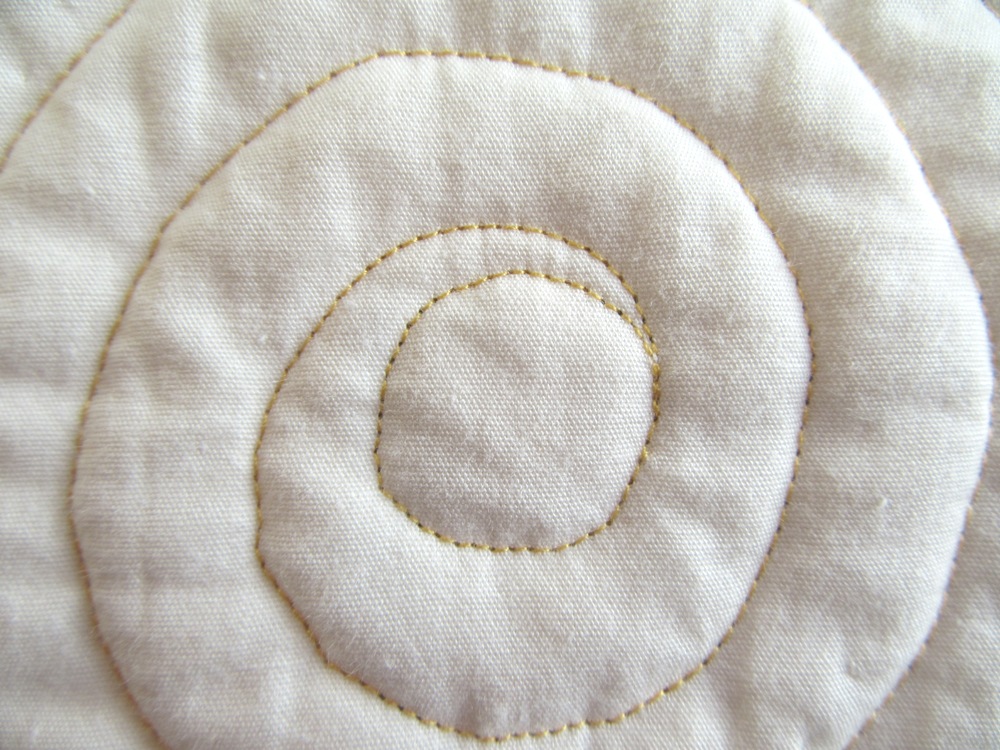
 I designed this with teaching a beginner patchwork class in mind but since finishing it I think it will go straight onto my shelves in the pop-up craft shop. The blocks are made using 2½” strips from just two fabrics. I used Hobbs 80/20 wadding and calico for the backing. The quilting was the time consuming and challenging part of this project. The swirly lines of stitching are about ½” apart, radiating from central circles that are ¾” across. I have quilted swirls before but on a much larger scale. I made a plastic template for the circle (I drew round the base of a spool of thread – anything that comes to hand…) and drew around it on to the quilt top using a washable pencil marker. Using some tips picked up from Christa Watson’s ‘Machine Quilting With Style’ I started with tiny stitches, just 1.5 on my machine, and lifted the foot and moved the sandwich to realign onto the marked circle every couple of stitches.
 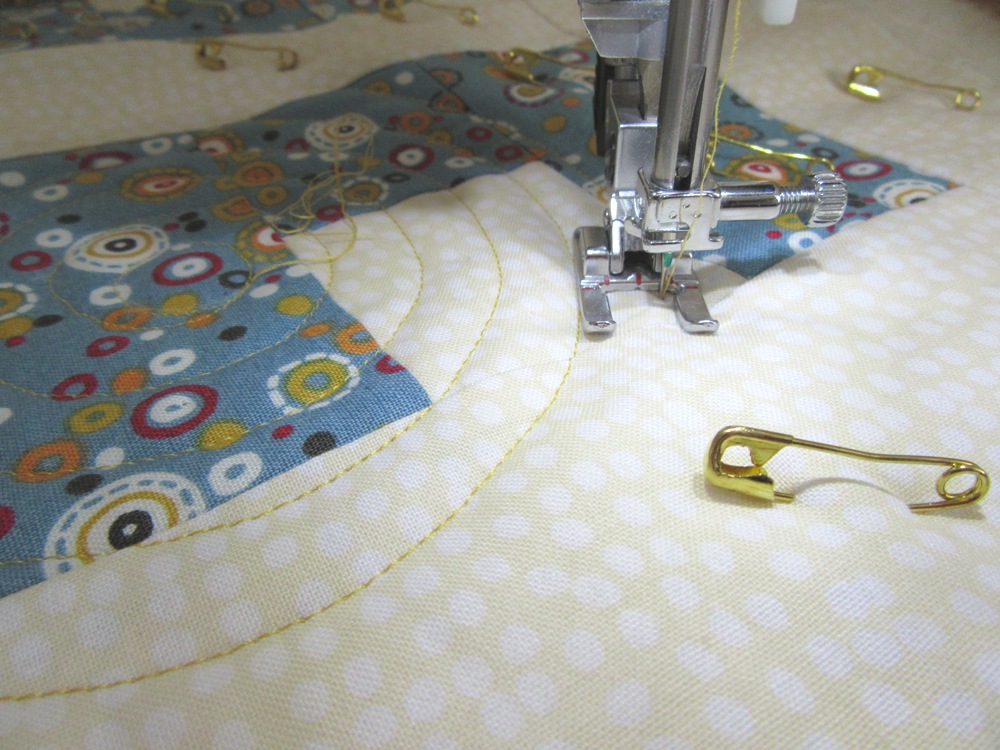 I use an open toe applique foot when I’m quilting to make sure I get a good view of the needle position as it goes into the fabric. The stitching quickly gets easier as the swirls move away from the centre. About two swirls from the centre I usually remembered (!) to increase the stitch length to 2.0 and could gently turn the runner using the edge of the foot as my stitch-line guide. By this point only occasionally having to lift the foot and shift the runner to keep the stitching line on track. To obtain a smooth curve it is worth stitching slowly and I used rubber tipped Machinger gloves to help me grip the fabric. I found that I needed to keep the fabric around the presser foot and under my fingers nice and flat, avoiding pushing it, as I sought to maintain the smooth curve.
Finally, the Storage Pod. 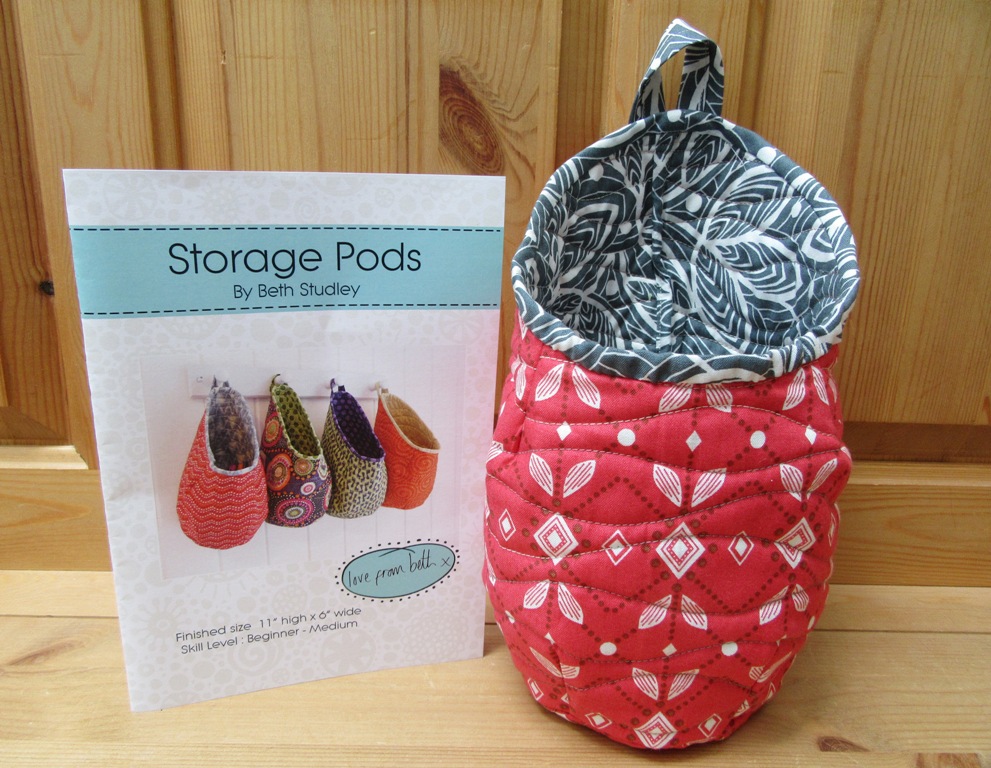 This is a pattern by Beth Studley of lovefrombeth.com (it’s a beautiful website). I took my time with this as I’m not used to cutting out pattern pieces or making darts and the like. My inexperience at these sewing skills indicates that the pattern is well written as I didn’t have any mishaps and completed a passable pod! I found hand stitching the circular bindings a bit fiddly but it worked.
I’m linking with Lorna for Let’s Bee Social today. I wonder how many other quilty bloggers will have mentioned ‘May is for Makers’?
Allison

0 Comments